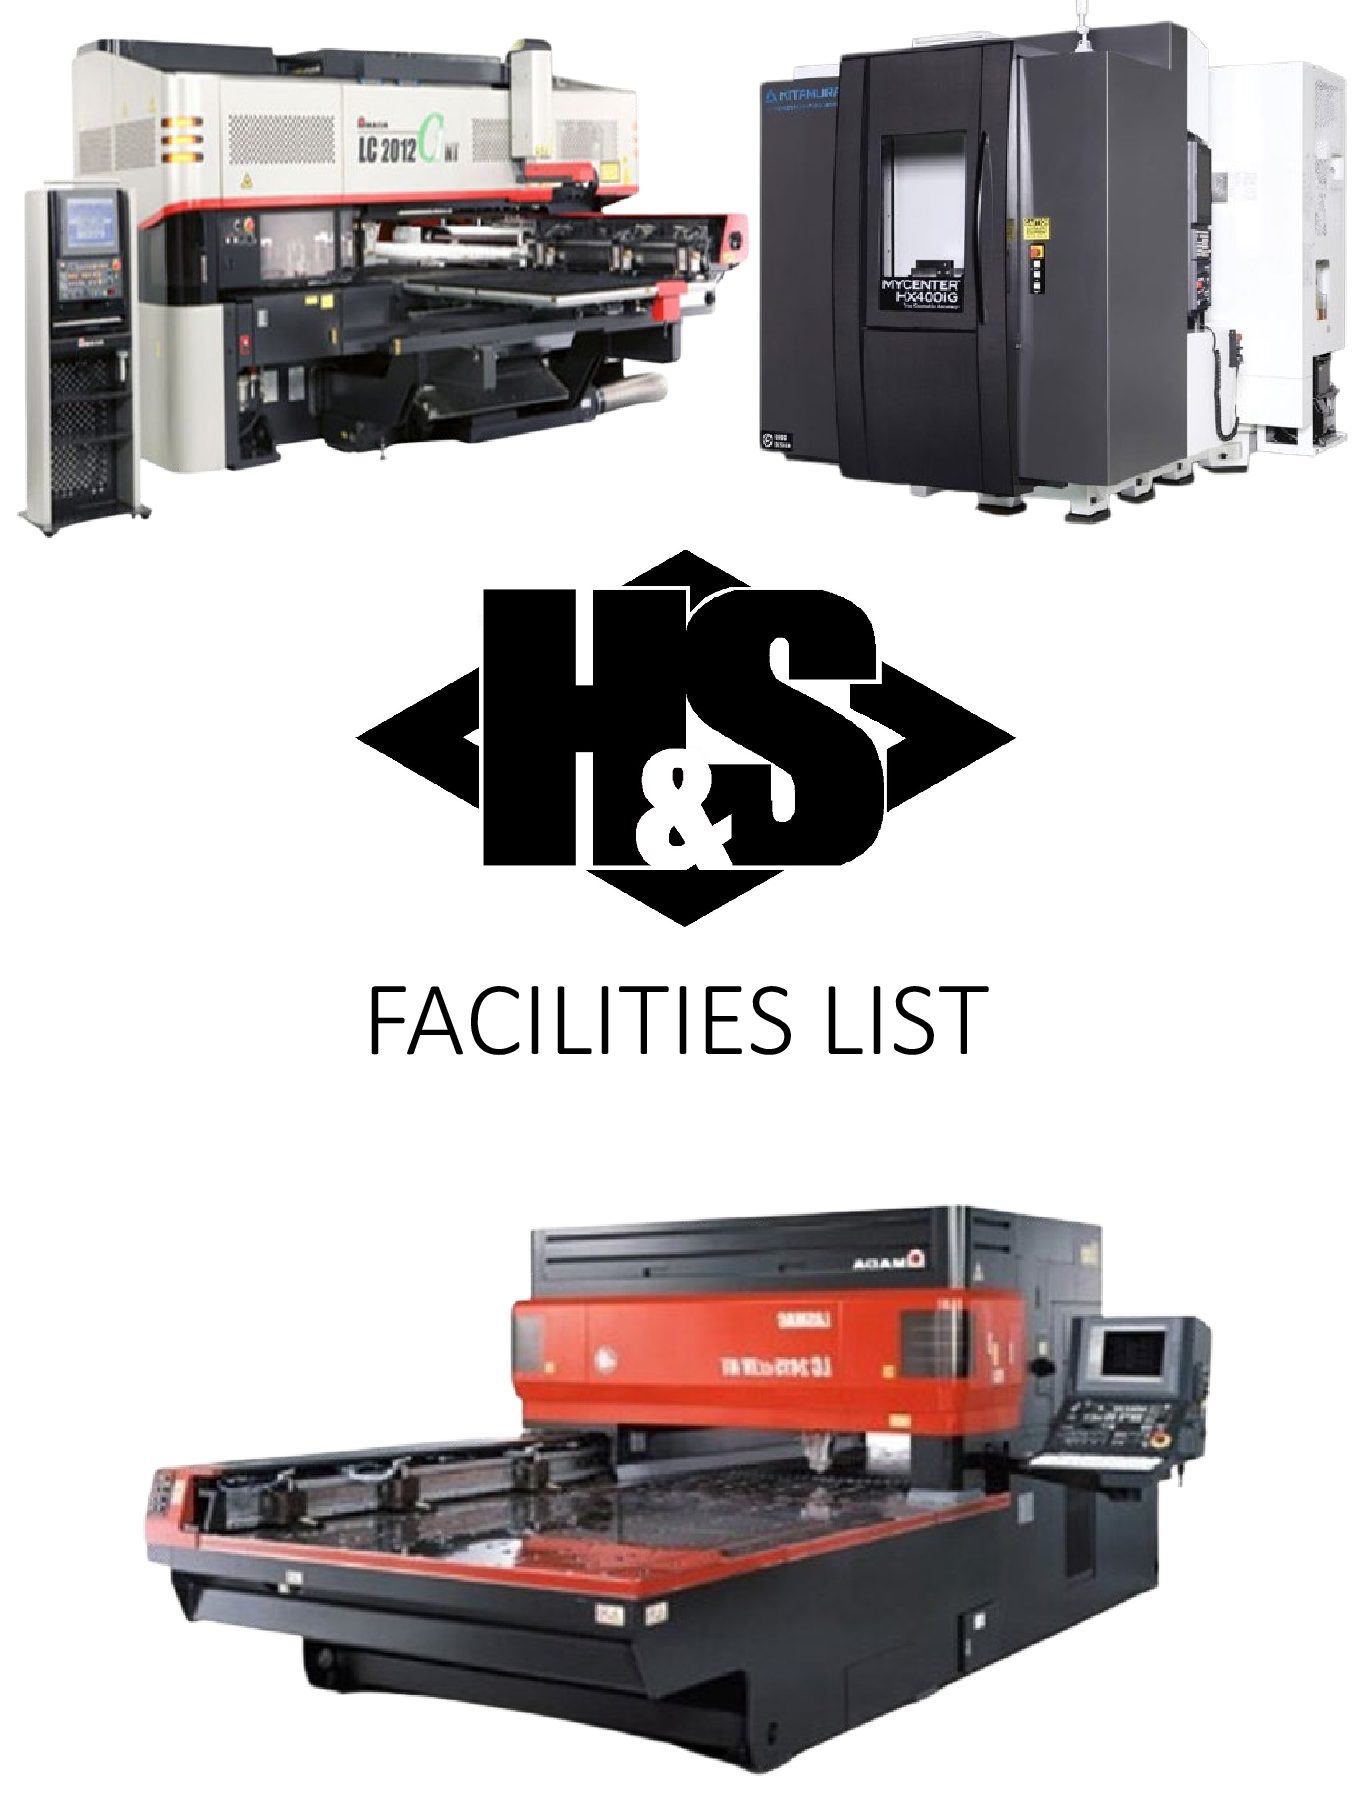
H&S Manufacturing Co. Facilities List
Download our complete facilities list or browse our equipment below:
PUNCH PRESSES/ LASERS
(1) Amada LC-2012C1NT Punch/Laser Combination with automatic material load/unload
| Specifications | LC 2012 C1 NT |
| Max. sheet size w/o
reposition |
79″ x 50″ |
| Max. sheet weight | 110 lbs. (F1) 330 lbs. (F4) |
| Max. material thickness | 0.25″ |
| Max. continuous laser output | 2.5kW |
| Tap applications | Mild steel, stainless steel and aluminum |
| Press tonnage | 22 tons |
| Turret capacity | 45 station (1) AI + (4) tapping stations (MPT turret) |
| Max. hit rate | X Axis 370 hpm – Y Axis 275 hpm
(on 1″ pitch at 0.118″ stroke) for punching pattern 900 hpm (at 0.019″ pitch and 0.055″ stroke) for marking pattern |
| Work chute size (X/Y) | 15.75″ x 50″ |
| Max. table feed rate (X/Y) | 3,150 ipm x 2,362 ipm |
| Positioning accuracy during combination process | ±0.0027″ |
(1) Amada Pulsar 2415NT Laser with automatic material load/unload
| Specifications | 2415 NT |
| Maximum Sheet Size | 61″ (Y) x 198″ (X) with one repositioning cycle |
| Maximum Axis Travel | 61″ (Y) x 99″ (X) x 11.8″ (Z) x 0.78” (B) |
| Maximum Cutting Speed | 787 IPM |
| Maximum Table Speed | 3,149 IPM per axis (4,454 IPM 45° vector) |
| Maximum Speed Z-Axis | 2,362 IPM |
| Positioning Accuracy | ±0.0004″/20″ |
| Repeatability | ±0.0004″ |
| Maximum Material Weight | 727 lbs. (5’ x 10’ x 3/8” or 4’ x 8’ x 1/2”) |
| Work Chute | 66” (Y) x 21” (X) |
| Laser Power | 4000 watts |
BRAKES
(1) Amada FBD-1030NT, 10’ bed, 110-ton
| Specifications | FBD‐1030 NT |
| Tonnage (US) | 110 |
| Maximum Bend Length | 118.1 inches |
| Distance Between Frames (A) | 106.3 inches |
| Stroke Length | 5.91 inches |
| Open Height | 16.54 inches |
| Throat Depth | 15.75 inches |
| Approach Speed | 3.7” Per Second |
| Bending Speed | 0.35” Per Second |
| Return Speed | 3.43” Per Second |
(1) Amada HD-1303NT, 10’ bed, 143-ton
| Specifications | HD 1303 NT |
| Tonnage (US) | 88 |
| Maximum Bend Length | 122 inches |
| Distance Between Frames (A) | 106.3 inches |
| Stroke Length | 7.87 inches |
| Open Height w/Holders | 11.75 inches |
| Open Height | 18.5 inches |
| Throat Depth | 16.50 inches |
| Table Height | 38.6 inches |
| Approach Speed | 4.72 inches/second |
| Bending Speed | 0.39 inches/second |
| Return Speed | 4.72 inches/second |
| Ram Repeatability | + 0.00004 inches |
(1) Amada RG-80, 8’ bed, 88-ton
| Specifications | RG‐80 |
| Tonnage (US) | 80 |
| Maximum Bend Length | 98.7 inches |
| Distance Between Frames (A) | 80.8 inches |
| Stroke Length | 3.94 inches |
| Open Height w/Holders | 14.58 inches |
| Throat Depth | 15.78 inches |
| Approach Speed | 106 inches/minute |
| Bending Speed | 2-19 inches/minute |
| Return Speed | 122 inches/minute |
| Ram Repeatability | + 0.0004 inches |
(2) Amada RG-35S, 4’ bed, 38.5-ton
| Specifications | RG‐35S |
| Tonnage (US) | 35 |
| Maximum Bend Length | 49.3 inches |
| Distance Between Frames (A) | 40.2 inches |
| Stroke Length | 3.94 inches |
| Open Height w/Holders | 14.58 inches |
| Approach Speed | 1.57 inches/second |
| Bending Speed | 37 inches/second |
| Return Speed | 2.16 inches/second |
CNC MACHINING
(2) Kitamura HX300 horizontal machining centers
| Specifications | HX‐300 |
| Table Size | 12” x 12” (305 x 305mm) |
| Travel (X, Y, Z) | 18.1” x 20.1” x 22.0”
(460 x 510 x 560mm) |
| Spindle Taper | NST No. 40 |
| Spindle Speed | 40~15,000rpm |
| Tool Storage Capacity | 50 Pcs |
| Tool Change Time
(T-T/C-C) |
1.3 Sec. /2.5 Sec. |
| Rapid Feed (X,Y,Z) | 2,362ipm (60m/min) |
| Rapid Feed (B) | 54,000deg./min. (150rpm) |
(6) Kitamura HX horizontal machining centers 400mm
| Specifications | HX‐400 |
| Table Size | 15.75” x 15.75” (400 x 400mm) |
| Travel (X, Y, Z) | 24” x 24” x 24”
(610 x 610 x 610mm) |
| Spindle Taper | NST No. 40 |
| Spindle Speed | 40~15,000rpm |
| Tool Storage Capacity | 50 Pcs |
| Tool Change Time
(T-T/C-C) |
1.3 Sec. /2.5 Sec. |
| Rapid Feed (X,Y,Z) | 2,362ipm (60m/min) |
| Rapid Feed (B) | 45,000deg./min. (125rpm) |
(6) Kitamura MyCenter 4XD vertical machining centers
| Specifications | 4XD |
| Table Size | 19.7” x 44.1” (500 x 1,120mm) |
| Travel (X, Y, Z) | 40.2” x 20.1” x 20.1”
(1,020 x 510 x 510mm) |
| Spindle Taper | NST No. 40 |
| Spindle Speed | 12,000rpm, NRG Belt Drive |
| Tool Storage Capacity | 40 Pcs. |
| Tool Change Time
(T-T/C-C) |
3.0 Sec. /6.0 Sec. |
| Rapid Feed (X,Y,Z) | 1,889ipm (48m/min) X/Y x 1,654ipm (42m/min) Z |
(4) Leadwell V40i, vertical machining centers
| Specifications | V‐40i |
| Travel (X, Y, Z) | 40″ x 25″ x 24″ |
| Spindle HP | 25hp |
| RPM #40 Taper | 12,000 RPM |
| Rapid Traverse | 1417 ipm |
(1) Leadwell V30i vertical machining center
| Specifications | V‐30i |
| Travel (X, Y, Z) | 30″ x 18″ x 20″ |
| Spindle HP | 15hp |
| RPM #40 Taper | 10,000 RPM |
| Rapid Traverse | 1889 ipm |
(1) Leadwell V50L vertical machining center
| Specifications | V‐50L |
| Travel (X, Y, Z) | 50″ x 25″ x 24″ |
| Spindle HP | 25hp |
| RPM #40 Taper | 12,000 RPM |
| Rapid Traverse | 1417 ipm |
(1) Leadwell V20iT 4+1 axis vertical machining center
| Specifications | V‐20iT |
| Travel (X, Y, Z) | 20″ x 16″ x 19″ |
| Spindle HP | 20hp |
| RPM #40 Taper | 12,000 RPM |
| Table / Work Piece Size @ 0′ | 8.25″ Dia / 12.8″ Dia x 10″ h |
(2) Leadwell V40iT 4+1 axis vertical machining center
| Specifications | V‐40iT |
| Travel (X, Y, Z) | 40″ x 25″ x 21″ |
| Spindle HP | 25hp |
| RPM #40 Taper | 12,000 RPM |
| Table / Work Piece Size @ 0′ | 14″ Dia / 24.0″ Dia x 12″ h |
(1) Leadwell LTC-20i turning center
| Specifications | LTC‐20i |
| Chuck Size / Bar Capacity / Swing | 8″-10″ Chuck / 2.5-3″ Bar / 20″ |
| Spindle HP | 25hp 2-Speed |
| RPM | 4,500 RPM |
| Turret / Bed Lengths | 12 Station – Z / 24″ |
FIP (Form In Place) Fluid Dispensing Robots
(5) Robotic Liquid Dispensing – Form In Place (FIP) Gasket, Adhesives, Coatings, etc…
INSPECTION
(2) ZEISS Contura G2 coordinate measuring machine with RDS articulating probe holder.
| Specifications | Contura G2 |
| Measuring range – XYZ | 700x700x600 mm. |
| Workpiece weight | Maximum 560 Kg. |
| Machine weight | 1278 Kg. |
| Dimensions (WxDxH) | 1430x1525x2800 mm. |
| Measuring range X in mm (in.)
Y in mm (in.) Z in mm (in.) |
1000 (39.4)
1200 (47.2) 600 (23.6) |
| Work table area X, Y | 1225 x 154 (48.2 x 60.6) |
| Travel speeds Set-up:
Measuring operation: Creep speed: Acceleration: |
0 to 70 mm/s (0 to 2.8 ips)
max. 250 mm/s (10 ips) 0 to 5 mm/s (0 to 0.2 ips) max. 1000 mm/s2 (39 ips2) |
| Accuracy Data | |
| Length (size) measuring error 2)
MPE acc. EN ISO 10360-2 for E in µm (in./1000) |
2.7+L/250
(0.106+L/250) |
| Probing error
MPE acc. EN ISO 10360-2 for P in µm (in./1000) per VDI/VDE 2617 3) (probing uncertainty) V2 in µm (in./1000) |
2.4 (0.094)
2.2 (0.087) |
| Scanning probing error 3)
MPE per EN ISO 10360-4 for THP in µm (in./1000) required measuring time t in sec |
4.8 (0.189)
72 |
| Form measurement error 3)
MPE for roundness RONt (MZCI) in µm (in./1000) acc. EN ISO 12181 4) |
4.4 (0.173) |
| 1) Stylus for acceptance test: Length 60 mm (2.4 in.), stylus tip diameter 8 mm (0.32 in.) 2) L = measured length in mm (in.).
3) For VASTXT only 4) Used filter 50 W/U, scanning speed at V2 and roundness: 5 mm/s (0.2 ips) |
|
| Ambient Requirements | |
| Air humidity | 40% to 60% |
| Permissible ambient temperature | +17°C to +35°C (63 °F to 95 °F) |
(1) Amada FabriVISION, FVL-HD-4848 Plus 3Di Laser
| Specifications | FVL‐HD‐4848 |
| Scanning Accuracy | ±0.002″ (0.05mm) |
| Maximum Part
Thickness |
8.0″ (200mm) |
| Maximum Part Weight | 200 lbs (90kg) |
| Calibration | Automated |
| Maximum Scan Zone | 48″ x 48″ (1220mm x 1220mm) |
MECHANICAL ASSEMBLY
(3) Haeger press with auto feed system and complete tooling
(1) Micro-Vu Video measuring system.
(1) Micro-Vu Optical Comparator (4) Brown and Sharp Microhites

 Email Us


